Brine Chicken Recipe: Easy Guide for Juicy, Flavorful Meat
Every home cook has faced the problem of dry, tasteless chicken. I’ve been there, too. Cutting into chicken only to find it tough and flavorless was frustrating. That’s when I found out about brining chicken, which makes ordinary chicken taste amazing.
Brining is a secret trick for making chicken juicy and full of flavor. This simple brine chicken recipe will change how you cook chicken. It turns basic chicken into a dish that everyone will love.
Brining is easy, whether you’re new to cooking or have lots of experience. It works by using a salt water solution to keep chicken moist. This makes every bite tender, juicy, and full of taste.
This guide will teach you everything about brining chicken. You’ll learn the basics and get tips for making your chicken dishes delicious. Soon, you’ll be a pro at brining.
Get ready to make your chicken dishes amazing. Your journey to the tastiest, juiciest chicken starts here.
Table of Contents
Understanding the Science Behind Chicken Brining
Brining turns regular chicken into a juicy, flavorful dish. Learning how to brine chicken can really boost your cooking skills.
Brining does more than just add flavor. It’s a cool science that changes chicken’s texture and taste through salt, water, and proteins.
How Salt Penetrates the Meat
Salt is a key player in brining. It uses osmosis to break down proteins, making chicken fibers more open. This lets moisture and flavor get in deeper.
- Chicken fibers become more permeable
- Moisture absorption increases significantly
- Flavor penetrates deeper into the meat
The Role of Moisture Retention
Brining keeps chicken up to 30% more moist when cooked. The salt solution acts as a shield, keeping water in during cooking.
“Salt is the secret weapon that transforms dry chicken into a succulent masterpiece.” – Professional Chef
Chemical Changes During Brining
Brining starts chemical reactions in the meat. Salt unwinds proteins, making the meat tender. Studies show 88% of chefs see better meatiness with brining.
To get the best results, brine chicken for at least 1 hour. Overnight soaking is even better for flavor. Use 1 tablespoon of kosher salt per cup of water for the right brine.
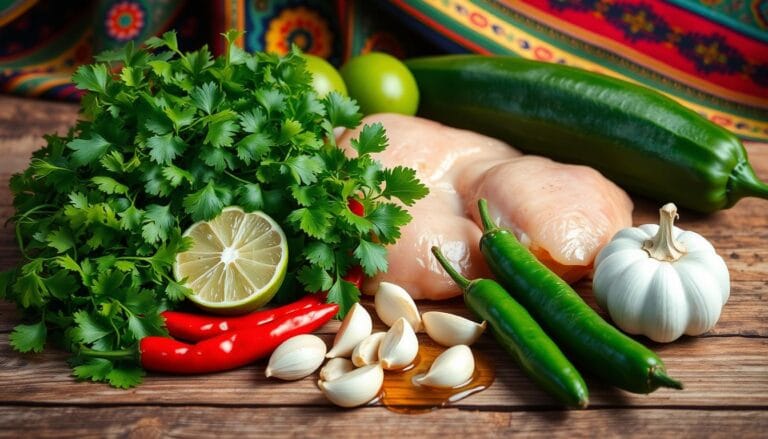
Essential Ingredients for the Perfect Chicken Brine
To make the best brine for chicken, you need to know the key ingredients. These ingredients turn a simple piece of meat into a dish to remember. Your homemade brine recipe should be easy to make. The best brines use just a few basic parts.
At the heart of a great chicken brine, you’ll find two main ingredients:
- Water: Start with 1 gallon of warm water as the base
- Salt: This is key for adding moisture and flavor
While water and salt are the basics, you can add more to enhance your brine:
- Sugar (white or honey) for a touch of sweetness
- Soy sauce for extra flavor
- Olive oil for tender meat
- Aromatics like herbs and spices
“The secret to juicy chicken is in the brine” – Professional Chef’s Wisdom
When picking ingredients, go for high-quality kosher salt – about 1/2 cup per gallon of water. Fresh herbs like rosemary, thyme, and parsley can make your brine special. Try adding bay leaves, garlic cloves, and black peppercorns to make it your own.
Basic Brine Chicken Recipe: Step-by-Step Guide
Learning how to brine chicken can make your cooking better. It ensures your meat is juicy and full of flavor. This guide will show you how to make a great brine and prepare your chicken for a tasty meal.
The key to a great brine chicken recipe is knowing the right techniques and amounts. We’ll break it down into easy steps.
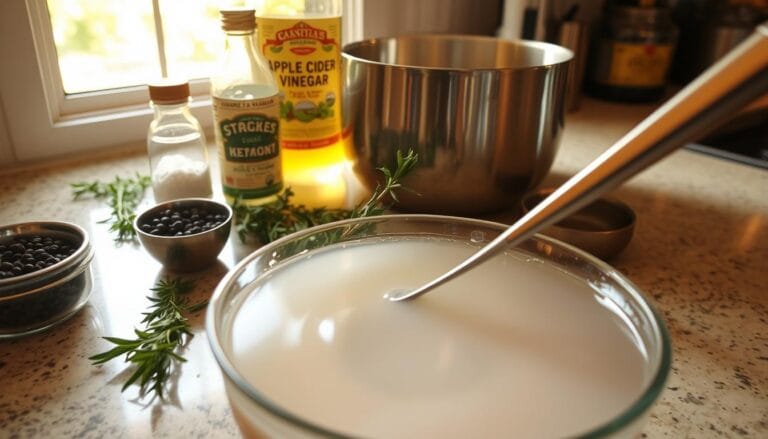
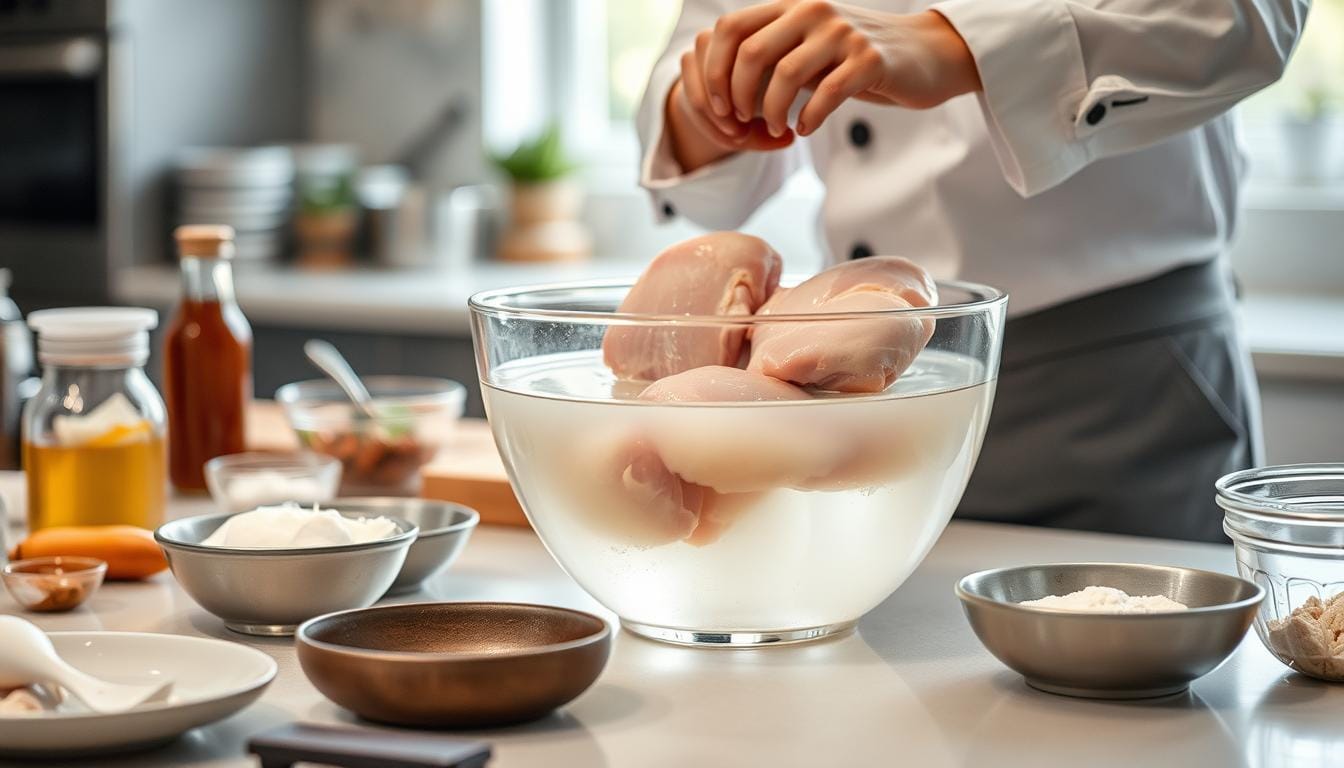
Preparing the Brine Solution
Getting the brine solution right is key for tender chicken. Here’s what you need:
- 4 cups cold water
- 4 tablespoons kosher salt
- Optional aromatics: garlic, herbs, citrus
Mix the salt into cold water until it’s all dissolved. The right amount of salt helps the chicken soak up lots of flavor.
Proper Chicken Preparation
Choose high-quality chicken for your brine. Whether it’s whole chicken or specific cuts, how you prepare it matters:
- Trim excess fat
- Rinse chicken thoroughly
- Pat dry with paper towels
- Place in a non-reactive container
Brining Time and Temperature
Brining time is important. Different chicken cuts need different times:
| Chicken Cut | Room Temperature | Refrigerator |
|---|---|---|
| Whole Chicken | 2-3 hours | 4-6 hours |
| Chicken Breasts | 30 minutes | 1 hour |
Pro tip: Always refrigerate your brine solution if left for more than 30 minutes to prevent bacterial growth.
After brining, don’t rinse the chicken. Instead, dry it and let it air-dry in the fridge for crispy skin. Your chicken is now ready for cooking!
Hot vs. Cold Brining: Which Method Works Best

Exploring brining poultry tips shows the importance of knowing hot and cold brining. Each method has its own benefits that can greatly affect your cooking.
Cold brining is safer and more recommended for home cooks. It keeps chicken at safe temperatures, reducing bacterial risks. This method involves:
- Maintaining consistent cold temperatures between 34-40°F
- Allowing slower salt and flavor absorption
- Preserving food safety standards
Hot brining has its own set of challenges. Warm water might seem right, but it can partially cook the chicken. This can lead to uneven seasoning. Experts warn against hot brining for food safety reasons.
Professional chefs consistently advise cold brining for optimal moisture retention and flavor infusion.
Your choice of brining depends on the chicken cut, desired texture, and cooking method. For example, chicken breasts need 30-60 minutes of brining. Whole chickens might need 4-6 hours in the fridge.
Remember: Cold brining is best for juicy, flavorful chicken with less risk.
Optimal Brining Times for Different Chicken Cuts
Learning how to brine chicken means knowing the right brining times for each cut. Each chicken part is different, affecting the best brining time. Tips for brining poultry can help you get juicy and flavorful meat every time.
Timing is key when brining. Different parts of the chicken soak up salt and moisture at different rates. So, you need to adjust your brining time based on the chicken part you’re working with.
Whole Chicken Brining Guidelines
Brining a whole chicken takes longer to get deep flavors. Here are some brining time recommendations:
- Smaller whole chickens (3-4 lbs): 4-6 hours
- Larger whole chickens (5-6 lbs): 8-12 hours
Chicken Breast Brining Techniques
Chicken breasts are lean and delicate. They need shorter brining times to avoid being too salty. Brine chicken breasts for 1-2 hours. This lets them soak up flavor without getting too salty or mushy.
Dark Meat Brining Recommendations
Dark meat like thighs and drumsticks can handle longer brining times because of their fat content. Here’s what to do:
- Chicken thighs: 2-4 hours
- Drumsticks: 2-4 hours
- Chicken wings: 1-2 hours
Brining too long can make meat too salty. Always rinse your chicken under cold water after brining. Then, pat it dry with paper towels to remove excess salt before cooking.
Flavor Enhancers and Aromatics for Your Brine

Making a flavorful brine for chicken is more than just salt and water. The right mix of aromatics can turn a simple chicken dish into a work of art. When you’re making your brine, think about adding herbs and spices to add depth.
Make your brine a flavor powerhouse with these aromatic ingredients:
- Fresh herbs like rosemary, thyme, and sage
- Whole spices such as black peppercorns
- Crushed garlic cloves
- Bay leaves
- Citrus zest for bright, tangy notes
Each ingredient adds something special to your brine. Peppercorns warm it up, while citrus zest adds a zing. Garlic adds depth, and herbs bring earthy notes that match the chicken’s taste.
Here’s a flavor-packed brine seasoning for chicken that will take your dish to the next level:
| Ingredient | Quantity | Flavor Profile |
|---|---|---|
| Kosher Salt | 1/2 cup | Primary moisture enhancer |
| Fresh Rosemary | 2 sprigs | Woodsy, pine-like aroma |
| Whole Black Peppercorns | 1 tablespoon | Warm, spicy kick |
| Crushed Garlic | 3-4 cloves | Rich, intense flavor |
Remember, balance is everything when making your brine. Start with small amounts and adjust to taste. You want to enhance the chicken’s flavor, not hide it.
Common Brining Mistakes to Avoid
Learning how to brine chicken needs focus and detail. Even skilled cooks can make mistakes that affect the chicken’s quality. Knowing these common errors helps you make your chicken tender and flavorful every time.
When you’re brining poultry, several mistakes can ruin your dish. It’s as important to know what not to do as it is to know the right steps.
Over-Brining Risks
One big mistake is brining chicken too long. Brining for too long can make the meat too salty and mushy. Here’s how to avoid this:
- Chicken breasts: Brine for 1-2 hours
- Whole chickens: Brine for 4-6 hours
- Never brine for more than 8 hours
Salt Concentration Challenges
Getting the salt balance right is key when brining chicken. Use these amounts for the best brine:
- 1 cup kosher salt per gallon of water for wet brining
- 1 tablespoon salt per 5 pounds of meat for dry brining
- Rinse meat after brining to remove excess salt
Temperature Control Considerations
Keeping the right temperature is vital for food safety while brining. Always keep your chicken cold and below 40°F to stop bacteria from growing. Brining at room temperature is risky and can cause food poisoning.
Pro tip: Use a digital thermometer to monitor your chicken’s temperature throughout the brining process.
Avoiding these common mistakes ensures your chicken is delicious and juicy. It will impress everyone at the table.
Storage and Food Safety Tips
Learning how to brine chicken means knowing how to store it right. This keeps your food safe and the meat tasting great. After brining, your chicken needs special care to stay flavorful and safe.
Here are key tips for storing brined poultry safely:
- Remove chicken from brine and pat dry thoroughly
- Store in airtight containers or sealed plastic bags
- Refrigerate promptly at or below 40°F
- Use refrigerated brined chicken within 3-4 days
Freezing is a great way to keep brined chicken for a long time. When properly wrapped, it can stay in the freezer for up to 2 months.
| Storage Method | Maximum Safe Duration |
|---|---|
| Refrigerator | 3-4 days |
| Freezer | Up to 2 months |
“Food safety begins with proper handling and storage.” – Professional Chef’s Recommendation
Always check your brined chicken’s temperature. If it shows signs of spoilage, throw it away. The FDA says to keep raw meats below 40°F to stop bacteria from growing.
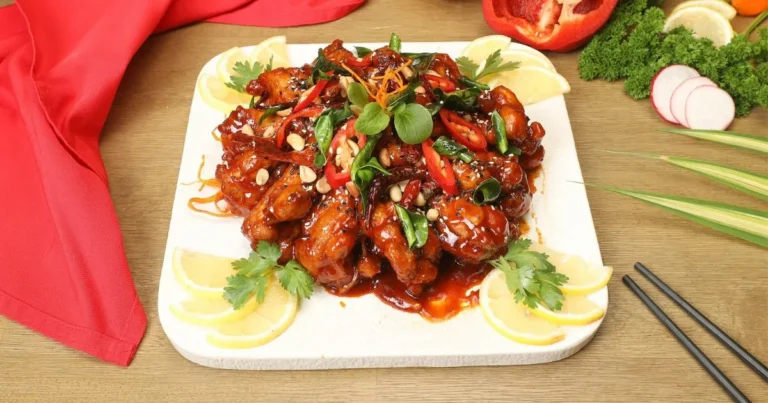
Cooking Methods for Brined Chicken
Learning how to brine chicken is just the start. Next, you’ll want to know the best ways to cook it. Each method can make your chicken taste amazing and impress everyone.
Every cooking method has its own benefits for brined chicken. Knowing which one to use keeps your chicken tender and full of flavor.
Roasting Techniques
To roast brined chicken, you need to control the oven’s temperature. Heat it to 425°F for a crispy outside and juicy inside. Dry the chicken before roasting for a golden-brown look.
- Use a meat thermometer to check internal temperature
- Aim for 165°F at the thickest part of the meat
- Let the chicken rest for 10-15 minutes after cooking
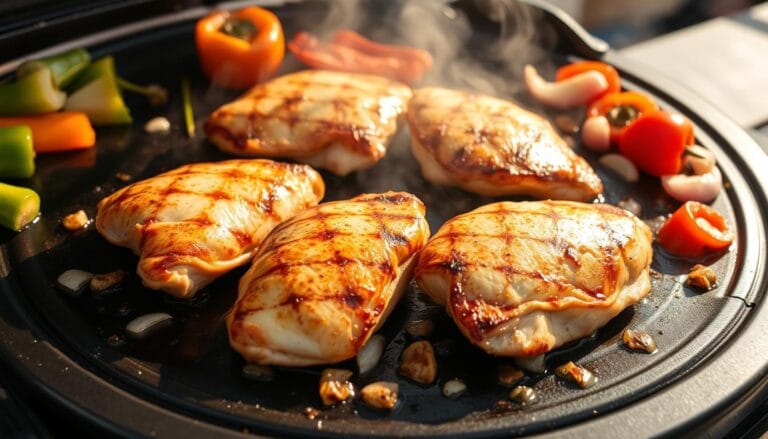
Grilling Guidelines
Grilling brined chicken needs medium-high heat and attention. The brine keeps the meat moist during the high heat.
- Clean and oil grill grates before cooking
- Use indirect heat for larger cuts
- Maintain grill temperature around 350-375°F
Pan-Searing Methods
Pan-searing is great for boneless chicken. Heat a cast-iron skillet to medium-high. Use a little oil for the best results.
| Chicken Cut | Cooking Time | Internal Temperature |
|---|---|---|
| Chicken Breast | 6-8 minutes per side | 165°F |
| Chicken Thighs | 8-10 minutes per side | 175°F |
Try out these cooking methods to find your favorite way to cook brined chicken. It’s a delicious and perfectly cooked dish.
Alternative Brining Techniques
Exploring homemade brine recipes opens up new ways to cook chicken. Dry brining is a unique method that adds flavor without using liquid. It involves sprinkling salt directly on the meat’s surface.
Injection brining is another cool technique for chicken lovers. It uses a special needle to inject marinades into the meat. This method ensures flavors are evenly spread and helps keep the chicken moist.
Try out different brining methods like buttermilk brines for Southern dishes or baking powder for crispy skin. Each method has its own benefits. For example, dry brining can make wings crispy at first, but the texture might change later.
Mastering these brining techniques can take your cooking to the next level. Whether you stick to traditional wet brining or try new methods, you’ll impress your guests with delicious chicken dishes.