
How to Brine Chicken Breast: Step-by-Step Guide for Moist Chicken
Every home cook has faced the problem of dry, tasteless chicken. I found the solution by bringing chicken breast years ago. It changed my cooking forever. That first juicy, flavorful chicken breast was a culinary miracle.
Brining is a simple yet powerful method for moist chicken breasts. By soaking the chicken in a saltwater solution, you get tender, flavorful meat. This will impress your family and dinner guests.
The brine recipe is easy: mix 4 cups of cold water with 6 tablespoons of kosher salt. This solution helps the chicken stay moist during cooking. It prevents the dry, tough results that make chicken lovers sad.
Brining time for chicken breasts is 30 to 60 minutes. In this time, the salt solution makes the meat tender and flavorful. It will have everyone asking for your secret.
Ready to improve your chicken dishes? This simple yet powerful technique lets you explore brining and improve your cooking.
Table of Contents
Understanding the Science Behind Chicken Brining
Brining chicken is more than a cooking trick. It’s a science that changes your meat’s texture and taste. When you dive into bringing chicken, you’ll see a cool molecular journey. This journey makes your chicken breast tastier and softer.
Salt is key in the brining process. It uses osmosis to get deep into the meat’s fibers. This creates a special change.
How Salt Changes Meat Structure
Brining chicken with salt does several cool things:
- Breaks down protein molecules
- Creates spaces for moisture retention
- Disrupts muscle fiber density
Benefits of Brining for Moisture Retention
Brining does more than just add flavor. It makes a moisture reservoir in the chicken meat.
| Brining Duration | Moisture Retention | Flavor Intensity |
|---|---|---|
| 1-2 hours | Moderate | Mild |
| 4-6 hours | High | Perfect |
| 8+ hours | Potentially Oversaturated | Very Intense |
The Role of Osmosis in Brining
Osmosis is the magic of bringing chicken. Water molecules move through the meat’s membranes. They carry salt and flavor, making the chicken juicier and tenderer.
Essential Ingredients for Perfect Chicken Brine
To make the perfect brine for seasoned chicken breast, you need to know the key ingredients. Salt is the main ingredient, making the chicken moist and full of flavor.
The basic ingredients for a brine are:
- Cold water (4 cups)
- Kosher salt (4-5 tablespoons)
- Optional sugar (¼ cup)
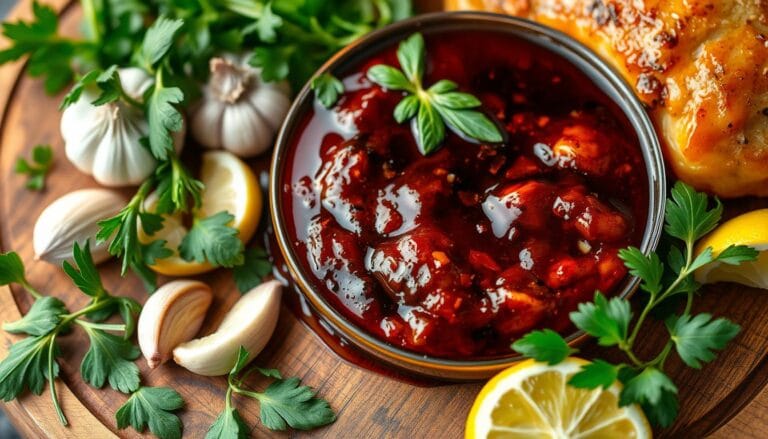
Adding extra flavor boosters can make your chicken brine even better. Try these exciting variations:
- Citrus Herb Brine:
- 2 oranges
- 2 lemons
- 4 garlic cloves
- 1 tablespoon peppercorns
- Apple Cider Brine:
- 2 cups apple cider
- Bay leaves
- Cinnamon stick
- Whole cloves
Professional chefs suggest adding herbs like rosemary and thyme. Spices like crushed red pepper can also add unique flavors. Always rinse your chicken well after brining to remove excess salt and get the best taste.
Pro Tip: Always keep your brine cold to prevent bacterial growth and maintain food safety!
How to Brine Chicken Breast: Basic Method
Brining chicken breast makes ordinary poultry juicy and flavorful. It’s a simple technique that boosts your cooking skills. You’ll get moist, delicious meat every time.
First, gather your ingredients and tools. A good brine recipe needs just a few basic things.
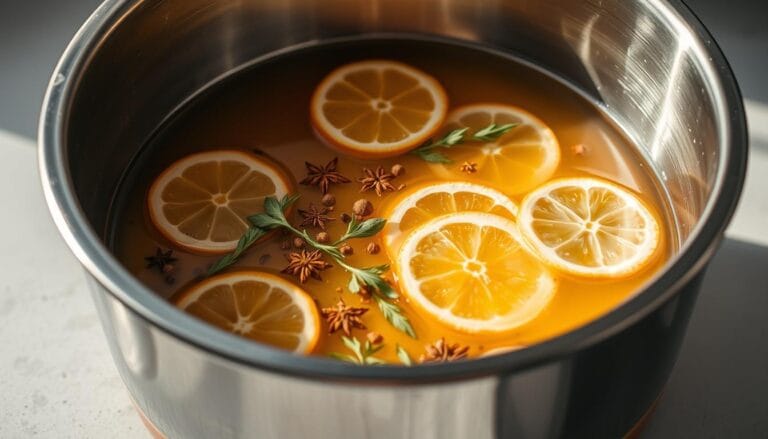
Preparing the Brine Solution
Making the perfect brine solution is easy. Just follow these steps:
- Use cold water (8 cups recommended)
- Add ½ cup kosher salt
- Stir until salt completely dissolves
- Optional: Add aromatics like garlic or herbs for extra flavor
Proper Chicken Submersion Techniques
When brining chicken breast, make sure it’s fully submerged. Here’s how:
- Select a non-reactive container (glass or plastic)
- Ensure chicken is fully covered by brine
- Use a weight if needed to keep chicken submerged
Temperature Control During Brining
Keeping the right temperature is key for safety and flavor:
- Refrigerate during brining
- Brine boneless chicken breasts for 40 minutes to 1 hour
- Maintain refrigerator temperature below 40°F
- Rinse chicken and pat dry before cooking
By following these steps, you’ll become a pro at brining chicken breast. Your meat will be tender and flavorful, impressing everyone.
Optimal Brining Times and Temperature Guidelines

Knowing the right brining time is key for tender, flavorful chicken breasts. Timing is everything when brining chicken breasts. It ensures perfect moisture and taste.
The best brining time for chicken breasts is between 30 minutes and 4 hours. Shorter brines are better for thinner cuts. Thicker chicken pieces can handle longer brining times.
| Chicken Type | Room Temperature Brining | Refrigerated Brining |
|---|---|---|
| Boneless Skinless Chicken Breasts | 30 minutes | 1-2 hours |
| Whole Chicken Breast | 1-2 hours | 4-6 hours |
Important things to remember when brining chicken include:
- Keep brining times under 4 hours to prevent over-salting
- Always brine in the refrigerator to ensure food safety
- Use cold water for creating your brine solution
When brining chicken, remember that temperature control is critical. Refrigeration prevents bacterial growth. It also helps salt and water penetrate the meat well.
Pro tip: Pat your chicken dry after brining to ensure crispy, golden skin when cooking.
Adding Flavors to Your Brine
Turning a simple chicken breast marinade into a masterpiece takes creativity and knowing how to mix flavors. Brining is more than just salt and water. It’s a chance to add amazing tastes that make your dish stand out.
The ingredients in your brine can greatly change your chicken’s taste. The right mix of herbs, spices, and aromatics can make your chicken taste like it’s from a fancy restaurant.
Herbs and Spices for Exceptional Flavor
Here are some exciting flavor boosters for your chicken marinade:
- Fresh rosemary sprigs
- Crushed black peppercorns
- Dried thyme leaves
- Sage for earthy undertones
- Whole garlic cloves
- Bay leaves for depth
Aromatics to Elevate Your Brine
Aromatics can make your brine go from good to great. Citrus slices, crushed garlic, and fresh herbs create complex flavors that really get into the meat.
Sweet and Savory Brine Additions
Try unique ingredients to make dishes you’ll remember:
- Apple juice instead of water
- Beer for rich undertones
- Maple syrup for sweetness
- Soy sauce for umami
- Worcestershire sauce for depth
For the best seasoned chicken breast, find the right balance. Start with a little of each ingredient and adjust to your liking.
Common Brining Mistakes to Avoid

Learning how to brine chicken breast can be tricky. Knowing the common mistakes helps you avoid them. This way, you can enjoy the full benefits of brining chicken.
- Water Temperature Error: Always use cold water for your brine. Warm water can cause bacteria to grow, which is unsafe.
- Salt Concentration Misstep: The wrong amount of salt can make chicken too salty or not salty enough. Use 1 tablespoon of salt for every 1 cup of liquid.
- Brining Duration Mistake: Don’t brine chicken too long. It can become too salty and change its texture.
The brining time should be between 15 minutes and 2 hours. Boneless, skinless chicken breasts do best with about 1 hour of brining. Bone-in chicken can handle up to 3-4 hours.
Food safety is key when brining chicken. Always keep chicken refrigerated if brining for more than 30 minutes. After brining, dry the chicken well. This helps it brown and have the right texture.
| Brining Mistake | Potential Consequence | Solution |
|---|---|---|
| Using Warm Water | Bacterial Growth | Use Cold Water |
| Over-Brining | Extremely Salty Meat | Limit Brining Time |
| Not Refrigerating | Food Safety Risk | Refrigerate During Brining |
After using brine with raw chicken, throw it away. Reusing brine can cause food poisoning.
Storing and Freezing Brined Chicken
Learning how to brine chicken breast is just the start. Knowing how to store it is key to keeping it moist and flavorful. Proper storage keeps your chicken safe and tasty for later meals.
Refrigeration Guidelines
Here are the must-knows for storing brined chicken:
- Store brined chicken in an airtight container
- Keep refrigerated at 40°F or below
- Use within 3-4 days of brining
Freezing Methods and Timeline
Freezing is a great way to keep your brined chicken fresh longer. To keep it moist and flavorful:
- Wrap chicken tightly in plastic wrap
- Place in a freezer-safe container or heavy-duty freezer bag
- Remove as much air as possible to prevent freezer burn
- Label with the date of freezing
You can safely freeze brined chicken for up to 3 months. Freezing helps keep the moisture in.
Thawing Recommendations
When you’re ready to eat your stored brined chicken, thaw it safely:
- Thaw in the refrigerator overnight
- Never thaw at room temperature
- Use thawed chicken within 1-2 days
- Cook immediately after thawing to maintain juiciness
By sticking to these storage and freezing tips, your brined chicken will stay delicious and safe for weeks.
Cooking Methods for Brined Chicken Breast
Your brined chicken breast is now ready to become a delicious meal. You have many ways to cook it, each highlighting the moist chicken you’ve prepared. Baking, grilling, and pan-searing are great choices for your seasoned chicken.
When cooking your juicy chicken, don’t add extra salt. The brining has already seasoned it perfectly. The chicken should reach 165°F for safety and taste. But, chefs say to remove it between 150-155°F to keep it moist.
Grilling gives a crispy outside and a tender inside. Heat your grill to medium-high and cook for 6-8 minutes on each side. Baking at 375°F for 20-25 minutes is another good option. Pan-searing creates a golden crust that keeps the juices in.
No matter how you cook it, your brined chicken will be full of flavor and tender. Serve it with fresh herbs, roasted veggies, or a light sauce. These methods will help you make meals as good as those in restaurants, right at home.